

 See My Latest Article on HelloNation
What Causes a Toilet to Keep Running?
A running toilet usually happens when water keeps leaking from the tank into the bowl, forcing the fill valve to refill the tank constantly. Most often, this means one or more internal parts aren’t sealing or functioning as they should. In houses and apartments across Warrenton, the reasons may be as simple as a worn flapper, old fill valve, tangled chain, or even mineral build-up from local water.
– Aging rubber flapper can warp or crack and fail to seal
– Fill valve may wear out or get clogged
– Float height might be set too high or low
– Chain attached to the flapper can catch, snag, or tangle
Hard water minerals, common throughout the region, may also impact these parts over time.
Is It Safe for Local Residents to Tackle This Repair Themselves?
For most people in the community, adjusting or swapping out basic toilet tank components is safe and straightforward. However, those with mobility concerns or individuals unsure about turning off their home’s water should use extra caution. Beyond basic hand tools, no special training is required, and most repairs do not call for shutting off water to the entire house—just to the toilet itself.
Mishaps on these repairs are rarely dangerous but could lead to a minor water spill. Always keep a towel handy and know where the main water shut-off valve is, just in case.
What Tools and Materials Are Needed for Safe DIY Toilet Repair?
Residents don’t need many specialized tools to address a running toilet.
- Adjustable wrench or channel lock pliers (for older, stubborn nuts)
- A bucket or towel (to catch drips)
- A replacement flapper, fill valve, or other parts (read packaging to confirm fit)
- Sponge (for removing residual tank water)
- Scissors (if adjusting chain length)
Supplies are commonly found at local hardware stores and are sized for standard U.S. toilets.
How Should Area Homeowners Start Diagnosing the Problem?
Lift the tank lid and flush once, observing each part:
1. Watch for water flowing from the fill valve (usually a tall post or metal tube) into the overflow tube or bowl after the tank fills.
2. Jostle the flush lever. If nothing happens, check for a disconnected or tangled chain.
3. If the tank never fills or overflows, try gently pressing on the rubber flapper to see if the water stops running. If it does, the flapper may be leaking.
4. Look for mineral crust or debris on any moving parts.
This process helps narrow down the culprit without any disassembly.
How Do You Safely Replace a Worn-Out Flapper?
Most leaking toilets in local homes can be traced to an aged flapper.
Step-by-step:
– Turn off the water supply by twisting the shutoff handle near the floor behind the toilet clockwise.
– Flush to empty the tank.
– Unhook the chain and detach the flapper’s arms from the pegs at the overflow tube.
– Wipe down the seat where the flapper sits; clean away any residue.
– Clip the new flapper in place and reattach the chain with enough slack to let the flapper close fully but not so much that the handle has no resistance.
– Turn the water back on and test flush.
Many new models are “universal,” but double-check fit if possible. Avoid forcing parts; they should detach and reattach with light pressure.
What Are the Easiest Ways to Adjust or Replace the Fill Valve?
If the flapper replacement doesn’t work, the fill valve may not be shutting off.
Adjustment:
– Newer fill valves often have a float that moves up or down with a clip or twisting rod. Raising the float stops the tank from filling prematurely.
– If water continues to run, mineral build-up inside the valve may prevent sealing. Use a gentle brush to clear scale.
Replacement:
– Shut off water to the toilet and flush to drain.
– Disconnect the fill hose and loosen the mounting nut underneath the tank with a wrench.
– Remove the old valve, fit the new one as directed, and hand-tighten nuts securely.
– Connect the water supply and refill the tank, checking for leaks below.
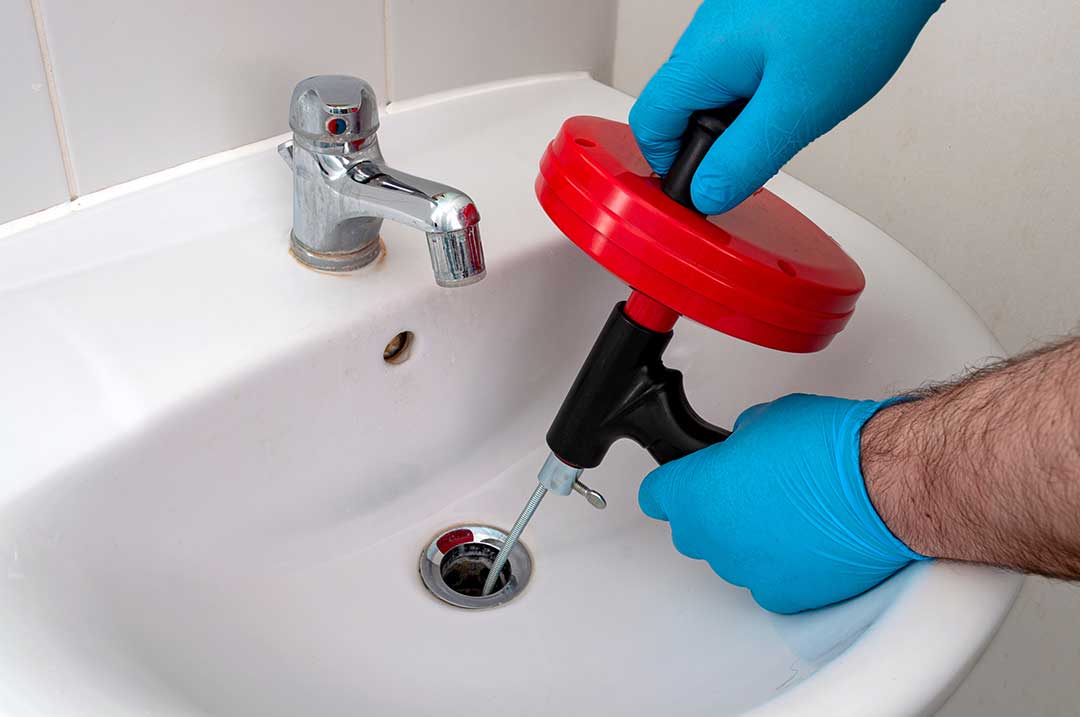
Valve adjustments and swaps are routine in area homes and generally take under 30 minutes.
Are There Local Water Factors or Seasonal Considerations to Watch For?
Homes throughout the city tend to experience moderate hard water, causing mineral deposits within toilet tanks and on moving components over time. Use white vinegar or a soft brush to gently remove build-up if you notice sticking or creaky movement. Seasonal shifts—such as increased use during gatherings or freezing temperatures—do not directly cause running toilets but may highlight pre-existing issues as toilets work harder.
When Should a Resident Seek Additional Guidance or Avoid DIY Fixes?
While most running toilet problems are safe to address, avoid DIY attempts if:
- Parts are corroded beyond easy removal (forced twisting may crack porcelain)
- The shut-off valve cannot be turned by hand and shows signs of leaking
- You notice cracks in the tank or pooling water on the floor
If a repair creates a leak or if the shut-off valve malfunctions, immediately turn off the main water supply to prevent further water damage. Residents in older homes with original plumbing fixtures should also take extra care, as components may not match modern replacements directly.
What Common Mistakes Should Residents in the Community Avoid?
Several helpful practices can prevent wasted effort and water:
- Double-check that parts fit your specific model before installation
- Do not overtighten plastic nuts, as this can crack tanks
- Always confirm chains are not so short they keep the flapper partly open
- Avoid dropping tools inside the tank (even ceramic can chip or break)
Simple fixes are often all that’s needed, and careful observation will typically point area residents directly to the issue.